What actually improves handwriting — pencil grip, stroke order and short daily sessions — plus two free ruled practice printables.
Type your child’s name and print a custom tracing worksheet in seconds — free, no sign-up.
Make my worksheet →
Free handwriting practice sheets to download
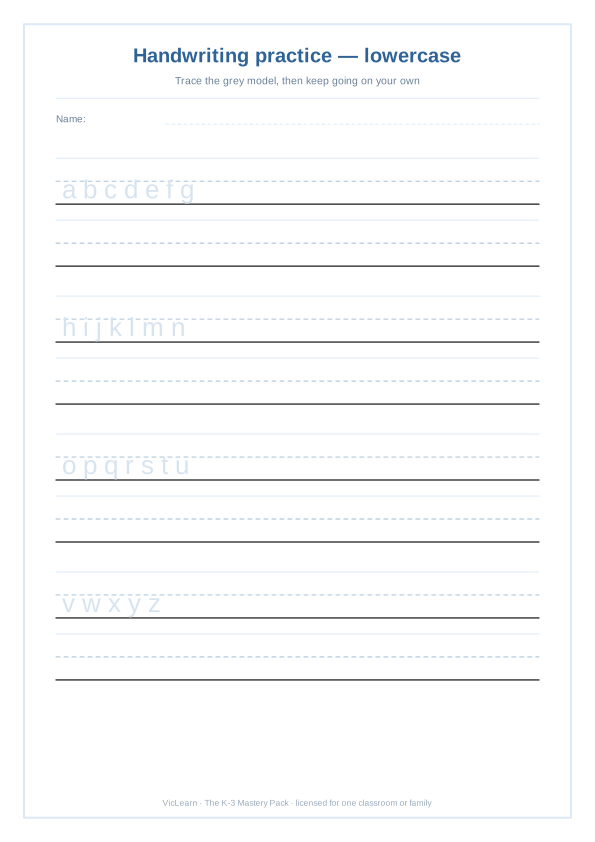
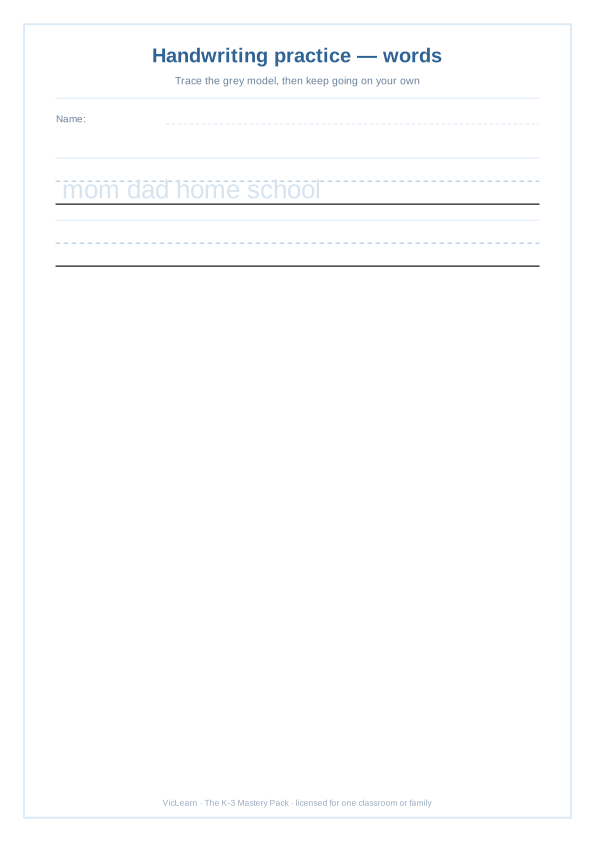
Two ready-to-print A4 sheets, drawn as vectors by VicLearn — no sign-up, no watermark, no redirect to another site.
Grip comes before letters
The tripod grip — thumb and index pinching, pencil resting on the middle finger — is what allows the fingers rather than the whole arm to move. A child gripping with four fingers will fatigue within a minute and their letters will deteriorate down the page no matter how many sheets they complete.
Two cheap fixes: break crayons into short stubs, which physically force a pinch, and have the child tuck a small ball of paper under the ring and little fingers.
Teach letters in stroke families, not alphabetical order
Alphabetical order forces a random switch between motor patterns. Grouping by starting stroke is far faster:
| Family | Letters | Why together |
|---|---|---|
| Down and off | l, i, t, u, y, j | Single straight downstroke |
| Curly / anticlockwise | c, a, d, g, q, o, e, s, f | Same round start — this family fixes most reversals |
| Down and over | r, n, m, h, b, p, k | Down, retrace up, over |
| Zigzag | v, w, x, z | Angled lines, easiest, do last |
b/d reversals are normal until about seven
Reversals are a memory-of-orientation problem, not a sign of dyslexia at this age. The fix that works is starting-point based: b starts with the tall line, d starts with the circle. Say it aloud on every attempt.
Do not present b and d in the same session while the confusion is active — teach d thoroughly with the curly family, and bring b back a week later with the down-and-over group.
Ten minutes beats forty
Handwriting is a motor skill, so it consolidates through frequency, not duration. Ten focused minutes daily produces visibly better letters within three weeks than a single long weekly session ever will. Stop the moment the letters start deteriorating — practising a collapsing letter shape only rehearses the collapse.
Frequently asked questions
Should I teach print or cursive first?
Print first in most English-speaking systems, since it matches the letters children read. Cursive typically starts around age 7–8, once print letters are formed correctly.
My child writes letters bottom-up. Does it matter?
Yes. Bottom-up formation looks acceptable in isolated letters but blocks joined writing and slows speed permanently. Correct it early, while it is still only a habit.
What paper should we use?
Three-line ruling (top, dotted midline, baseline) until letter height is consistent, then single-ruled. The dotted midline is what teaches x-height.
Want the full sequence in one file? The K-3 Mastery Pack collects 58 worksheets across all of these skills in a single PDF. Everything on this page stays free either way.
Everything on this page is drawn as vector line work, so it prints sharp at any size. Here is exactly what this tracing activity trains and how to get the most out of one printed copy.
What your child actually practices here
- Left-to-right sweep: the eyes learn the reading direction while the hand works.
- Directionality: every stroke starts at the dot and follows the arrow, which is exactly the motor pattern schools ask for later.
- Letter formation from memory: the model line, the dotted line and the free line move the child from copying to writing alone.
- Line control: staying between the ruled bands is what makes handwriting legible, more than the shape of the letter itself.
Best age range and how to adapt it
- 3 to 4 years: expect an adult to work alongside the child and to finish only part of the page — that is a complete session at this age.
- 5 to 6 years: the child should manage the sheet alone in about ten minutes and want to show the result.
- 7 years and up: use it as a warm-up before harder work, or ask for a personal variation (new colors, an invented title, a second page).
What you need
- A4 or US Letter paper (plain 75g is enough — the file is vector, so it stays sharp)
- A pencil, or thick crayons for children under five
- Optional: a plastic sleeve or laminating pouch plus a dry-erase marker to reuse the sheet
A 15-minute plan you can follow today
- Set up: table cleared, one pencil, no screen in the line of sight.
- Work: one single sheet. Two pages in a row is the fastest way to turn a good activity into a chore.
- Close: ask the child to explain what they did — the explaining is where the learning is consolidated.
Five ways to reuse the same sheet
- Use a different color per stroke to make direction visible.
- Laminate and repeat daily for a week; progress is obvious when you compare Monday to Friday.
- Write the same letter big on a board first, small on paper after.
- Ask for a word that starts with that letter at the end of each line.
- Trace first with a finger, then with a pencil — the motor memory is stronger.
Common mistakes (and the quick fix)
- Printing at reduced scale: always choose “fit to page” or “actual size”; shrinking the sheet makes the lines too tight for small hands.
- Correcting every stroke: pick one point of feedback per session and let the rest go.
- Doing several sheets in a row: the second page is almost always worse than the first.
Frequently asked questions
Is this handwriting practice sheets: grip, letter order and fixing reversals (+ pdfs) printable really free?
Yes. The PDF downloads directly, with no sign-up, no email and no watermark. You can use it at home and in the classroom.
Can I print it for my whole class?
Yes. Print one copy and photocopy it, or print as many as you need. The only restriction is reselling the file itself.
What paper size should I use?
The file is built for A4 and prints perfectly on US Letter as well — just keep the printer on “fit to page”.
Will it print well in black and white?
Yes. Everything is vector line work, so a plain black-and-white laser or inkjet printer gives a clean result.
Can I reuse the same sheet?
Put it inside a plastic sleeve or laminate it and use a dry-erase marker. One print then lasts for months.
Keep a folder with the finished sheets. Progress in handwriting and attention is only visible when you compare two weeks apart.
- Place Value Worksheets: Tens, Hundreds and Why Regrouping Breaks (+ Free PDFs)
- Telling Time Worksheets: The Hour-to-Minute Progression (+ Free PDFs)
- Sight Words Worksheets: How to Teach the First 100 Words (+ Free PDFs)
- Kindergarten Readiness Checklist: What Actually Matters (+ Free Printable)
- Addition and Subtraction With Regrouping: Teaching Carrying and Borrowing (+ Free PDFs)
Leia também
Explore the topic
More in this topic
Get the complete pack of this set — free
One email, one link, all the sheets of this topic in a single PDF. No spam, unsubscribe in one click.
What you need to print this well
- Bright white printer paper (24 lb)Markers stop bleeding through at 24 lb / 90 g.
- Dry-erase pocketsTurn one printed sheet into unlimited practice.
- Triangular beginner pencilsFixes the grip before the handwriting habit sets.
- Laminator + pouchesFor the charts and cards you will reuse all year.
Links to Amazon. If you buy through them we earn a small commission at no extra cost — it keeps every sheet on this site free.
Want the printer-ready mega packs? See the printable packs.