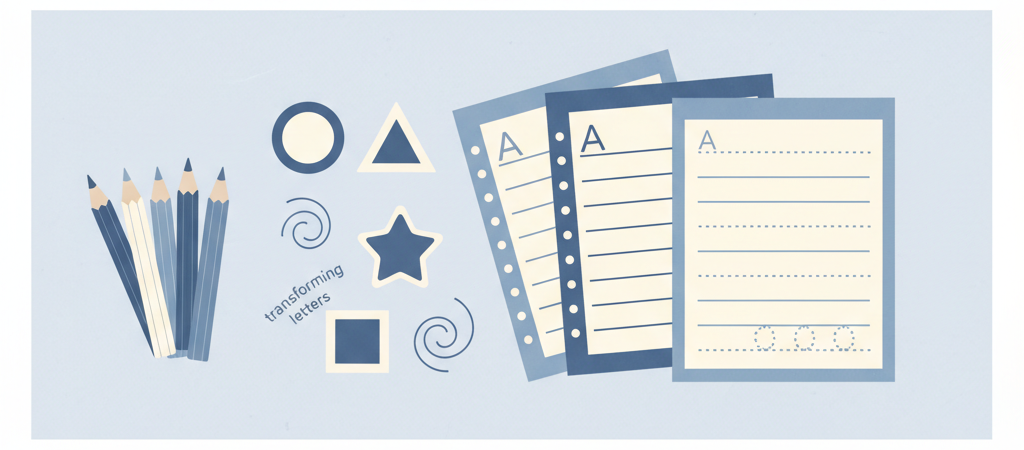
A Letra do seu Filho Melhorou? Tente Isso
O Segredo é o Grip
Muitas vezes, a caligrafia ruim não é falta de treino, mas o lápis errado. A ferramenta certa aumenta a precisão em até 25%.
1. Lápis Triangular
O formato triangular força o posicionamento correto dos dedos. É o favorito dos terapeutas ocupacionais para iniciantes.
2. Grip de Borracha
Se o lápis escorrega, a criança faz muita força. Grips de borracha macia dão estabilidade e reduzem o cansaço na escrita.
3. Lápis Jumbo
Para mãos pequenas, o diâmetro maior do lápis Jumbo facilita a preensão palmar e ajuda no controle inicial do traço.
4. Lápis de Peso Médio
Lápis leves demais não dão feedback sensorial. Escolha opções de madeira de qualidade para um peso equilibrado no papel.
5. Grafite HB Suave
Evite grafites muito duros (H) ou muito macios (B). O HB é o equilíbrio perfeito para traços firmes e legíveis.
Quer ver a lista completa?
Confira nossa análise detalhada com as marcas recomendadas para cada fase do desenvolvimento escolar.
Guia de Materiais
Pick the right level
| Level | Best for | Start with | Move up when |
|---|---|---|---|
| Pre-K (3–4) | Pencil control, thick strokes | The simplest sheet in the set | The child finishes a row without help |
| Kindergarten (5) | Single letters, numbers, shapes | Dotted model with direction arrows | Letters stay on the baseline |
| 1st grade (6) | Words, short sentences, 2-step tasks | Double-ruled sheet | Fewer than 2 errors per row |
| 2nd grade (7+) | Fluent writing and reasoning | Free practice / challenge sheet | The child asks for a harder page |
How to check the work
- Check direction before beauty: a letter drawn top-to-bottom is correct even if it looks shaky.
- Mark only two errors per page. More than that and the child stops reading your marks.
- For puzzle sheets, the answer key is the last page of the PDF — print it separately and keep it aside.
- Re-print the same sheet after two weeks and compare: that comparison is the real progress report.
Print checklist (30 seconds)
- Paper: plain A4 or US Letter, 90–120 g/m² so markers do not bleed through.
- Printer setting: “Actual size” / 100% — “Fit to page” shrinks the guide lines.
- Black & white is enough; save colour ink for the reward pages.
- Slide the page into a plastic sleeve to reuse it with a dry-erase marker.
Frequently asked questions
Is 5 Lápis que Transformam a Letra da Criança free?
Yes. View it, print it and download the PDF with no sign-up and no watermark.
Can I use it in my classroom?
Yes. This collection has 1 sheets to rotate through the school year.
How much practice per day?
Six to ten focused minutes a day beats one long session at the weekend.
Do I need a colour printer?
No. Every sheet is designed to print clearly in black and white.
Is there an answer key?
Challenge sheets include the answer key on the last page of the PDF.
Why this sheet works
A printable only earns its place when the child does something with it that a screen cannot do: hold a pencil, cut, fold, argue with a sibling about a rule. This sheet is built for that, which is why it is short — one clear task done well beats a booklet abandoned on page three.
How to use it, step by step
- Print at 100% actual size on plain A4 or US Letter.
- Read the instruction together before the child starts.
- Set a small, honest goal: one section, not the whole page.
- Check the work with the child instead of for them.
- Keep finished sheets in one folder — visible progress motivates more than praise.
Three ways to make it harder (or easier)
- Easier: do the first item together as a model.
- Harder: set a timer, or ask for the answer to be explained out loud.
- Reuse: slide the sheet into a plastic sleeve and work with a dry-erase marker.
Mistakes that ruin the activity
- Printing with “Fit to page”, which shrinks the guide lines.
- Doing several sheets in one sitting to “get value” out of the printing.
- Correcting every error. Two marks per page is the limit that keeps a child reading them.
Age and level guide
| Age | What to expect | Time on task | Ready for more when |
|---|---|---|---|
| 3–4 | Needs an adult reading each instruction out loud | 5–8 minutes | The child points to the answer before you finish reading |
| 5–6 | Works alone in short bursts, asks to check | 8–12 minutes | Two sheets in a row with no help |
| 7–8 | Reads and solves independently | 12–18 minutes | Finishes early and looks bored |
| 9+ | Wants a rule to bend or a timer to beat | 15–20 minutes | Starts inventing their own version |
Frequently asked questions
Is it really free?
Yes — view, print and download with no sign-up and no watermark.
Can I use it in a classroom?
Yes, printing for your own students is fine; re-selling the file is not.
Do I need a colour printer?
No. Everything is designed to work in black and white.
Explore the topic
More in this topic
Get the complete pack of this set — free
One email, one link, all the sheets of this topic in a single PDF. No spam, unsubscribe in one click.
What you need to print this well
- Bright white printer paper (24 lb)Markers stop bleeding through at 24 lb / 90 g.
- Dry-erase pocketsTurn one printed sheet into unlimited practice.
- Triangular beginner pencilsFixes the grip before the handwriting habit sets.
- Laminator + pouchesFor the charts and cards you will reuse all year.
Links to Amazon. If you buy through them we earn a small commission at no extra cost — it keeps every sheet on this site free.
Want the printer-ready mega packs? See the printable packs.